Create High-Fidelity Images with Qwen Image 2.1 Pro
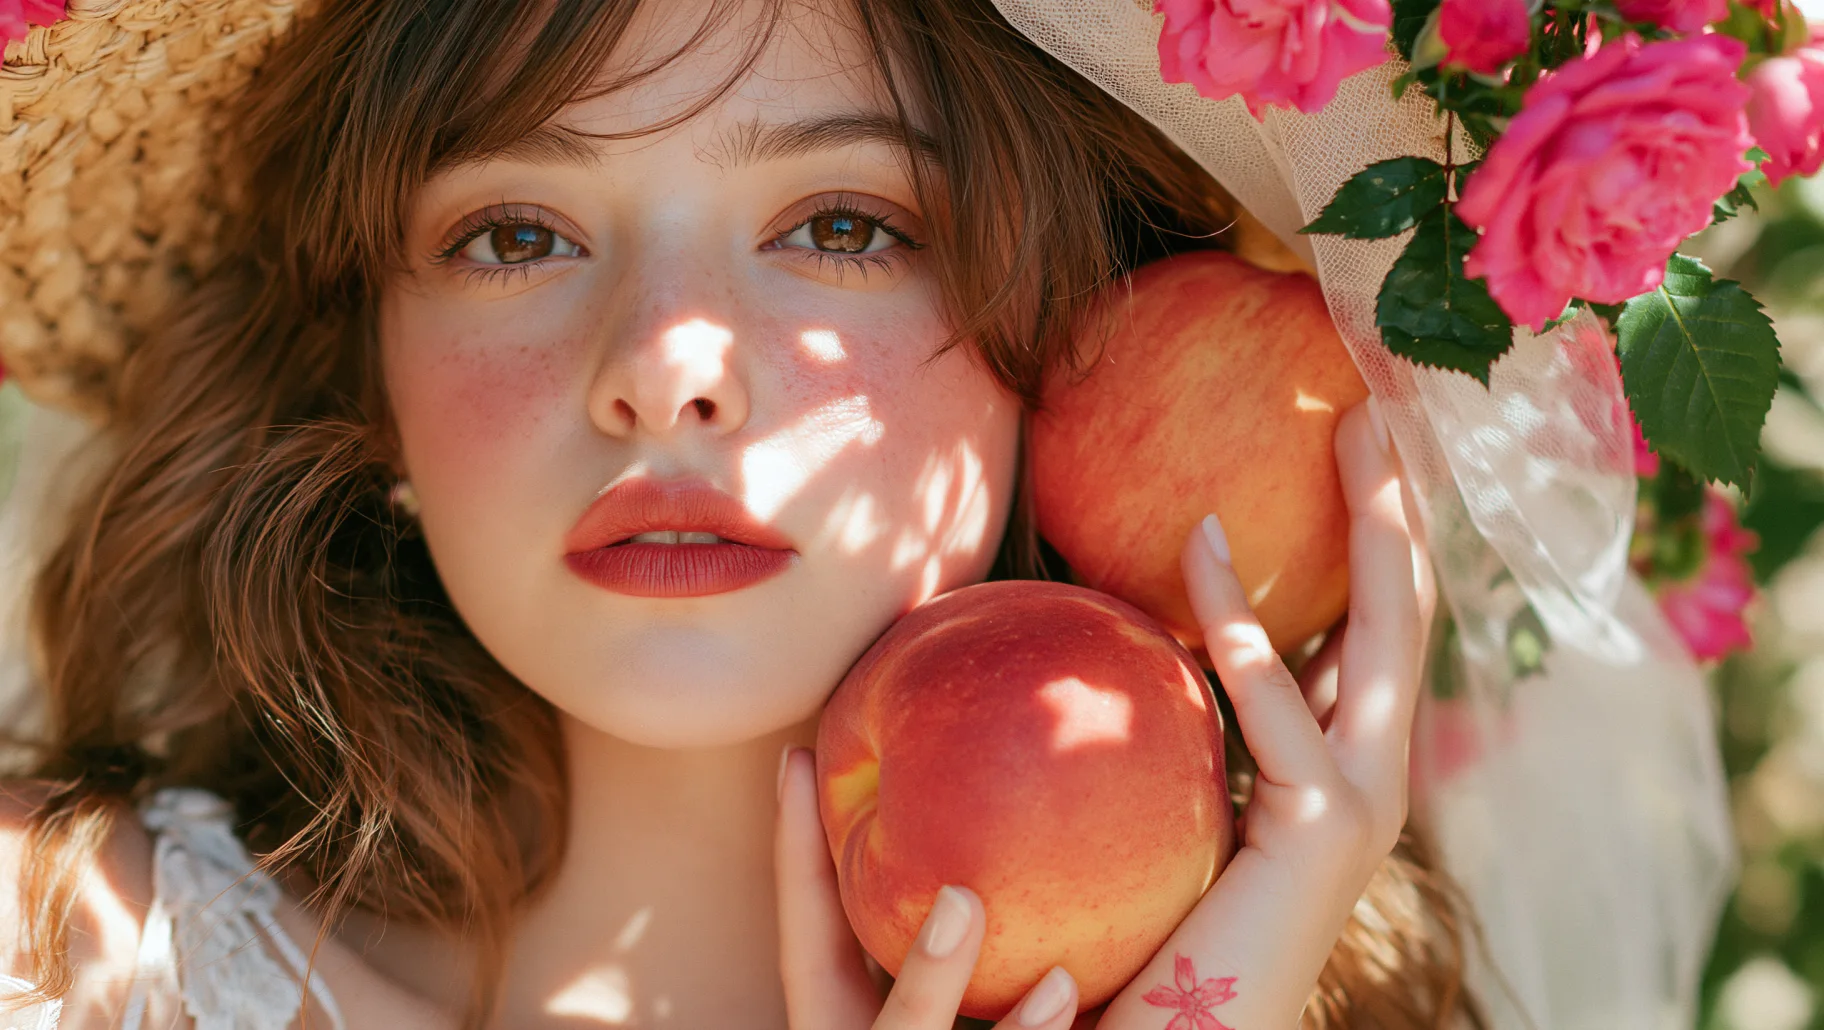
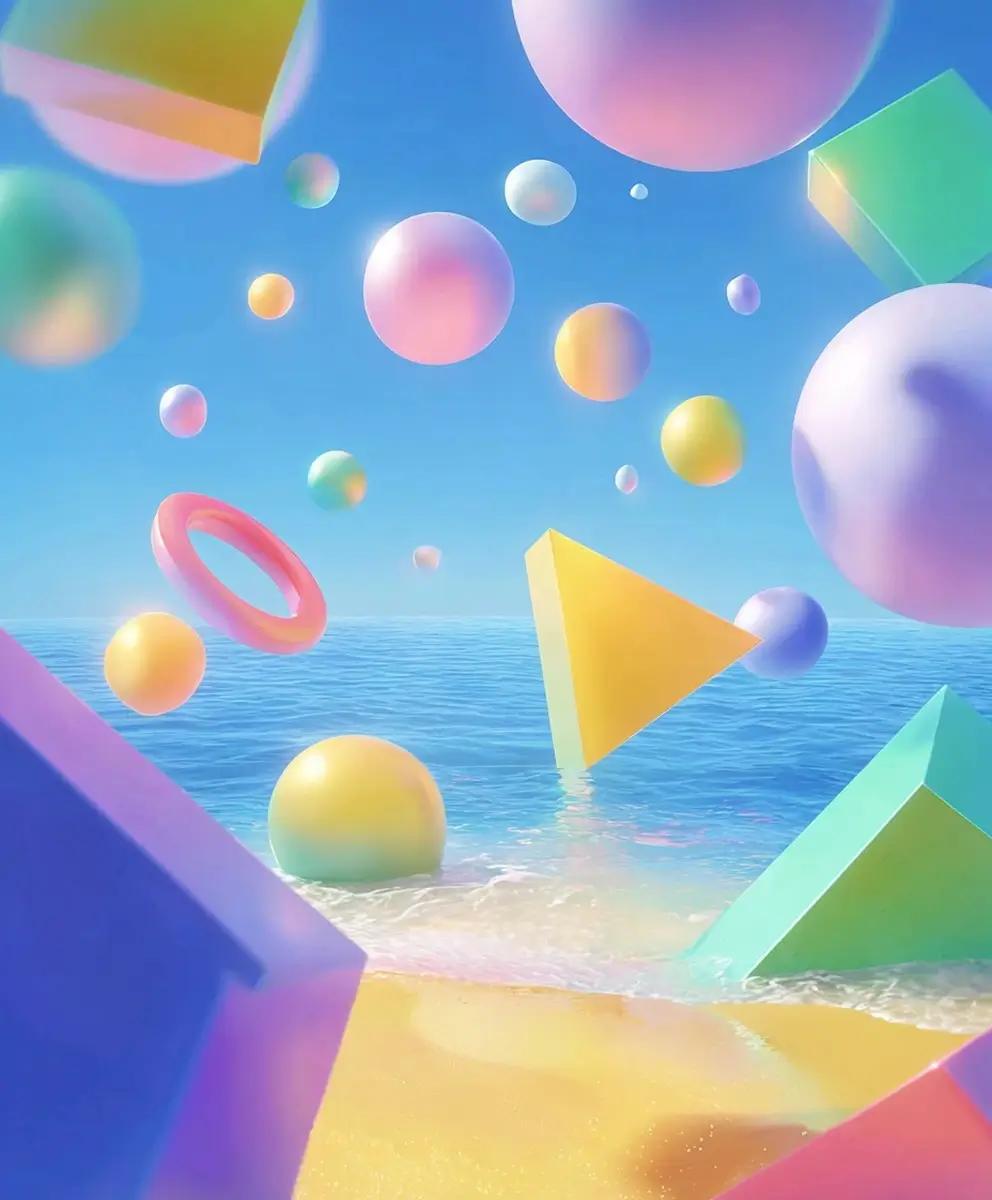
Turn a prompt or photo into detailed visuals with lifelike lighting and textures. Use up to 10 reference images to guide the look, and make targeted edits like changing colors, replacing backgrounds, or removing objects with a simple prompt. Create lifestyle images for product listings, visuals for ad campaigns, or graphics for your next social post.
How to Use Qwen Image 2.1 Pro on AI Ease
- 1
Describe Your Image
Select Qwen Image 2.1 Pro and write a prompt describing the subject, style, and lighting you want.
- 2
Upload Images (Optional)
Add up to 10 reference images to guide the look or composition. If you’re editing an existing image, upload it and describe what you’d like to change.
- 3
Set the Aspect Ratio and Generate
Choose an aspect ratio that suits your layout and click Generate.
- 4
Save Your Image
Click Download to save the finished image to your device.
What You Can Do with Qwen Image 2.1 Pro
A prompt can describe the camera angle or tell the model where to place the subject. A reference can show the fabric, finish, or color you have in mind. Qwen Image 2.1 Pro lets you use both in the same AI image generation workflow.

Generate Images from Prompts or References
Use text to image generation to build a scene from a written prompt. Describe the subject, setting, lighting, and composition. For example, ask for a sunlit bakery interior with a row of fresh baguettes in the foreground. With image to image generation, you can build on a visual you already have. Upload a rough sketch and ask for a finished illustration, or use a photo to guide the framing of a stylized version. When working from a sketch, name the visual style you want, such as watercolor or ink. Add details like the camera angle or the placement of individual objects when you have a specific layout in mind.
Edit Specific Details with a Prompt
Upload an image and tell Qwen Image 2.1 Pro what to change. Recolor a jacket, remove an object from the edge of a photo, or swap a busy background for a simple studio backdrop. You can identify an element by its position, color, or relationship to other objects. For example, ask the model to turn the blue chair beside the window olive green and match the existing daylight. Describe the finish if you want the edit to look like matte paint, glossy ceramic, or brushed metal. Include details you want to keep, such as the room’s layout or the shadows cast by the window frame.
Combine Up to 10 Reference Images
Add up to 10 reference images to guide a single result. Each image can serve a different purpose, from showing the subject’s appearance to demonstrating the lighting, color palette, or composition you want. For a food illustration, use one reference for the dish, another for the tableware, and a third for the way the scene is framed. Refer to the images by upload order when you describe what to use from each one. If two references show different colors, specify which palette to follow. For a series, reuse the strongest references across prompts to carry recurring colors, materials, or character features from one image to the next.
Choose an Aspect Ratio for Each Layout
Qwen Image 2.1 Pro supports square, landscape, portrait, and ultrawide formats, including 1:1, 3:2, 16:9, 21:9, 9:16, 2:3, 3:4, and 4:3. Use these options to create visuals that fit product listings, website banners, social posts, and posters. For a product launch, carry the same product, colors, and lighting across your storefront banner, listing images, and social graphics while adapting the composition for each placement. Specify where the subject should appear and how much room to leave for a headline or logo. You can also ask for extra space around the subject to keep important details visible in tighter layouts.
Use Cases for Qwen Image 2.1 Pro
Use this AI image generator to build a set of product images, explore campaign concepts, or turn a script into storyboard frames.

Build Consistent Product Listing Images
Start with a photo of your product and build a set of images for your storefront. A ceramic mug can sit on a white shelf for the catalog, on a breakfast table for a lifestyle image, and beside a gift box for a holiday collection. Use a clear reference to guide the handle shape, glaze color, and other details customers will look for. Ask for close-ups when texture matters, or frame the product with related accessories to show how it fits into a set. Compare the generated images with the actual item before publishing so shoppers get an accurate view of what they’ll receive.

Create Visuals for Paid Campaigns
Build several creative directions around the same offer. For a fitness app, compare a runner on a neighborhood track, a close-up of someone tying their shoes, and a studio shot of neatly arranged workout gear. Leave space in each layout for the trial offer and call to action. Use a shared color palette so the variants look like part of one campaign. Once you choose a direction, frame it for placements such as display banners and vertical mobile ads. If you’re testing headlines, create a layout that can accommodate both versions of the copy so each ad uses the same visual.

Make Social Posts and Thumbnails
Give a recurring series a look your audience can recognize. For a weekly plant care series, create a square cover for the feed, a vertical image for stories, and a wide thumbnail for a video recap. Carry a visual cue through the set, such as a pastel backdrop or a cut-paper illustration style, then feature a different plant in each installment. Compose each image for the way people will see it on a phone. Use a clear focal point for small previews and leave space for captions or platform controls on vertical designs. The same approach works for tutorials, travel recaps, and weekly updates.

Design Posters and Event Graphics
Develop a visual direction for a market, workshop, or exhibition before laying out the finished poster. For a neighborhood book fair, ask for an illustration of an open book turning into a city skyline, with the event name worked into the artwork. Try a different look for a second concept, such as bold lettering surrounded by simple line drawings. You can also ask for open space near the bottom for venue details, dates, or a QR code that you add in your design app. Review any lettering generated in the image for spelling and readability before adapting the artwork for print or digital promotion.

Build Storyboards with Recurring Characters
Turn a script outline into a set of images that show how a scene unfolds. Start with a character reference and a location image, then generate an establishing shot, a medium shot of the action, and a close-up of the reaction. Reuse details such as a coat, hairstyle, or distinctive prop to help tie the frames together. For a mystery scene, you might move from a wide view of a train platform to a close-up of a passenger spotting a suitcase left behind. The images give illustrators, filmmakers, and game teams a concrete way to discuss framing and pacing before developing the full sequence.

Illustrate Articles and Newsletters
Create an editorial image that gives readers an immediate sense of the story. A travel newsletter might open with a photo-style scene of a coastal town at dawn, while an article on interior design could use a close-up of wood, linen, and ceramic finishes. Describe what the image should convey, then specify a viewpoint, time of day, and color palette to give the model a clear direction. When the layout calls for text over the image, place the main subject away from the headline area. You can also create a companion illustration from the same brief to use farther down the page or in an email preview.
Frequently Asked Questions
Have more questions? You can email service@aiease.ai, and we'll be happy to help you.
What is Qwen Image 2.1 Pro?
Qwen Image 2.1 Pro is an AI image model developed by Alibaba. It generates images from text, creates new visuals guided by reference images, and edits existing images using written instructions.
Can I edit only one part of an image?
Yes. Describe the element and the change you want, such as removing the cable below a desk or changing the color of the front door. Mention where the element appears so the model can focus on that area.
How many reference images can I use?
Qwen Image 2.1 Pro supports up to 10 reference images for image-to-image tasks. One clear reference may be enough for a simple edit. Add more when you need to show different angles or guide separate elements in the composition.
Can I use the same character or product across multiple images?
Yes. Reuse clear reference images and call out the identifying details you want to carry across the set, such as a character’s hairstyle or a product’s shape and materials. The degree of consistency can vary with changes in pose, lighting, or viewpoint.
Which aspect ratios does Qwen Image 2.1 Pro support?
The model supports 1:1, 3:2, 16:9, 21:9, 9:16, 2:3, 3:4, and 4:3, among other ratios. Choose a square frame for a grid, a wide frame for a banner, or a vertical frame for a mobile placement.
Can Qwen Image 2.1 Pro generate text inside images?
Yes. You can include text such as a headline, sign, or product label in your prompt. Put the exact wording in quotation marks and describe where it should appear. Check spelling, capitalization, and readability in the generated image before publishing.