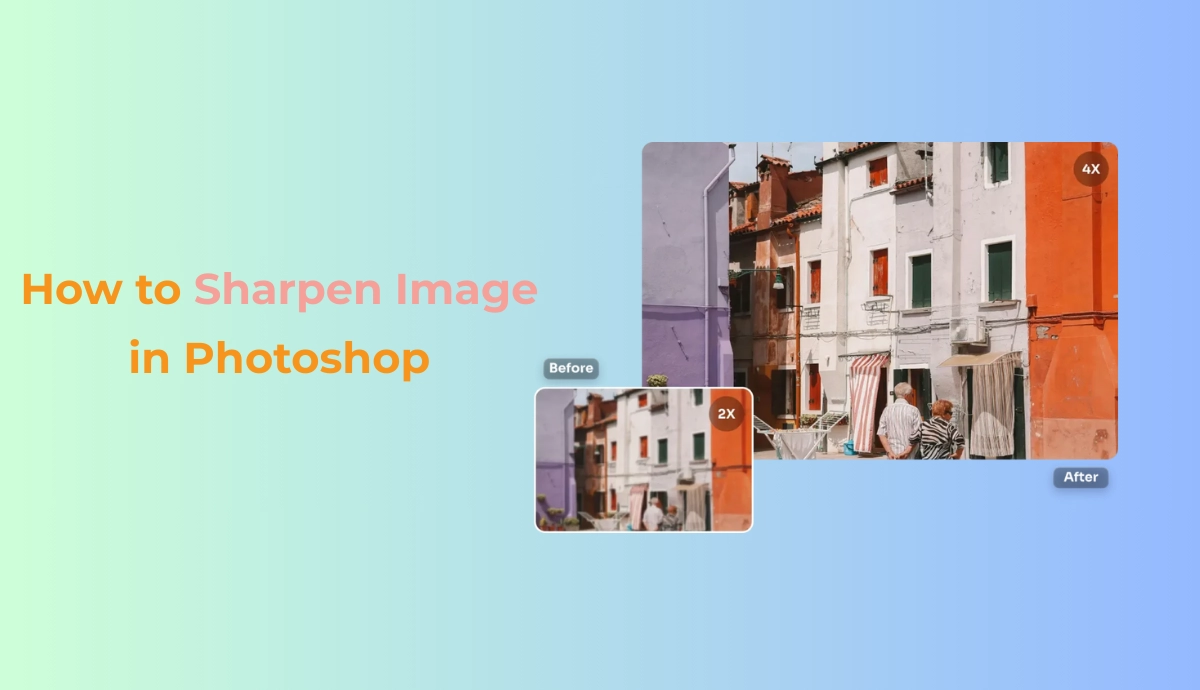
如何在 Photoshop 中銳化影像 - 完整指南
摘要: 有一張看起來模糊或缺乏清晰細節的照片嗎?別擔心,Photoshop 提供功能強大的工具,幫助您讓影像重現生機。在本逐步指南中,您將學習如何在 Photoshop 中使用智能銳化、非清晰蒙版和高通濾鏡等行之有效的方法銳化圖片。此外,我們還會介紹另一種出色的圖像銳化工具 - AI Ease。現在,讓我們檢查一下。
為什麼影像銳化很重要?
在數位攝影中,照片有時候會看起來有點柔和或模糊,有時候,我們需要 Photoshop 的幫助來增加圖片的解析度。Photoshop 有助於恢復圖片的清晰度和細節,讓您的圖片看起來更專業、更精緻、更具視覺吸引力。
什麼是影像銳化?
銳化影像 是增強照片邊緣和細節的過程,使其看起來更清晰、更明確。在 Photoshop 中,銳化可以增加邊緣的對比度。就像調整眼鏡一樣:影像已經存在,但銳化可以讓您看得更清楚。
同樣重要的是,要瞭解影像為何會看起來較軟或較硬。 模糊 首先。以下是一些會影響視覺效果的關鍵因素。
- 相機抖動
- 失焦
- 低解析度影像
- 動態模糊
那麼,如何在 Photoshop 中銳化影像?我將向您介紹一些行之有效的方法。讓我們逐一嘗試。
如何在 Photoshop 中銳化影像?
方法 1:使用非清晰遮罩
在 Photoshop 中銳化照片的另一個好方法是使用非清晰遮罩。非清晰遮罩實際上是透過增加邊緣的對比度來銳化照片。以下是如何在 Photoshop 中使用非清晰遮罩銳化圖片的分步指南。
首先,您可以複製圖層以確保非破壞性編輯。只要按一下原始圖層,然後按Command/Control + J。選取複製圖層後,前往濾鏡 > 銳化 > 非清晰遮罩,然後在彈出視窗中調整設定。
- 數量:拖曳滑桿設定銳化的強度。
- 半徑:拖曳滑桿來控制每個像素周圍受影響的範圍。
- 閾值:拖曳滑桿,告知像素在銳化前需要有多大的差異。
建議初學者使用的非清晰遮罩設定:
以下數值僅供參考。請根據您的影像狀況設定正確的值。
| 影像類型 | 金額 | 半徑 | 閾值 |
| 肖像 | 100-120% | 1.0-1.5 px | 2-5 |
| 景觀 | 150% | 1.5-2.0 px | 0-3 |
| 網頁圖形 | 80-100% | 0.5-1.0 px | 0 |
方法 2:使用智慧型銳化
如果您剛開始使用,並想要以最簡單有效的方式在 Photoshop 中銳化相片,那麼 Smart Sharpen 就是您最好的朋友。這個工具比基本的「銳化」濾鏡給您更多的控制權,對於修復稍微模糊和看起來柔軟的影像非常好。
以下是如何在 Photoshop 中使用 Smart Sharpen 銳化影像的逐步指南。
完成複製影像圖層後,在圖層面板中的圖層上按一下滑鼠右鍵,找到下列選項以提高相片品質:濾鏡 > 銳化 > 智慧型銳化。接著會有新視窗提示,您需要設定增加相片解析度的設定。
- Amount(數量):選擇數量值來決定銳化的強度。
- 半徑:選擇半徑值,以控制每個邊緣周圍有多少像素受到影響。
- 減少雜訊:調整 Reduce Noise(降低雜訊)滑桿,避免在銳化時增加顆粒。
注意:檢查預覽按鈕,即時比較過度銳化的前後!如果您的照片看起來很粗糙或有顆粒,請減少 Amount 或 Radius。
建議初學者使用的智慧型銳化設定:
以下數值僅供參考。請根據您的影像狀況設定正確的值。
| 照片類型 | 金額 | 半徑 | 降低噪音 |
| 肖像 | 120-150% | 1.0-1.5 px | 5-10% |
| 景觀 | 150-200% | 1.5-2.5 px | 0-5% |
| 產品快照 | 130-180% | 1.0-2.0 px | 5-10% |
| 低照度/雜訊 | 100-130% | 1.0 px | 10-20% |
| 動態模糊修復 | 150-250% | 1.5-3.0 px | 0-5% |
方法 3:使用高通濾波器
如果您正在尋找一種既有創意又靈活的方式來銳化圖片,特別是眼睛、紋理或邊緣等特定部分,High Pass 濾鏡是個不錯的選擇。與其他銳化方法不同的是,High Pass 可以強調照片中的邊緣,並利用圖層混合模式將它們重新融合。
以下是如何在 Photoshop 中使用高通濾鏡銳化影像的分步指南。
與上述方法一樣,建議您複製圖層,然後在複製的圖層上按滑鼠右鍵,選擇轉換為智慧物件。此舉可協助您稍後重新編輯效果。選取後,按一下濾鏡 > 其他 > 高通量,然後在高通量對話方塊中調整半徑滑桿。
之後,再將銳利的邊緣融合回圖像中。High Pass 圖層有兩種混合模式:
- 覆蓋- 更強的效果
- 柔光- 效果更柔和
方法 4:使用 Camera Raw 濾鏡
Photoshop 中的 Camera Raw Filter 是編輯 RAW 照片的強大工具。其簡單易用的滑桿可讓您控制銳利度和細節。
以下是如何在 Photoshop 中使用 Camera Raw Filter 銳化影像的逐步指南。
- 在 Photoshop 中開啟您的影像,然後在影像圖層上按滑鼠右鍵,選擇轉換為智慧物件。
- 移至頂部功能表,按一下濾鏡 > 相機 Raw 濾鏡。
- 按一下Detail(詳細資料)圖示,然後移動滑桿以設定Sharpening(銳化)區段下的組態。
銳化」部分下有四個主要滑桿,您可以查看初學者的建議值。
Amount 和 Radius 的意義與我們上面解釋的相同,建議將 Amount 值設為 50-100,Radius 值設為 1.0-1.5 px。
細節:銳化細緻紋理。較高的值可能會增加雜訊。建議值設定為 25-50。
遮蔽:只銳化邊緣,保護較平滑的區域。建議設定值為 50-80。
如何在 Photoshop 中使用 AI 輕鬆銳化影像?
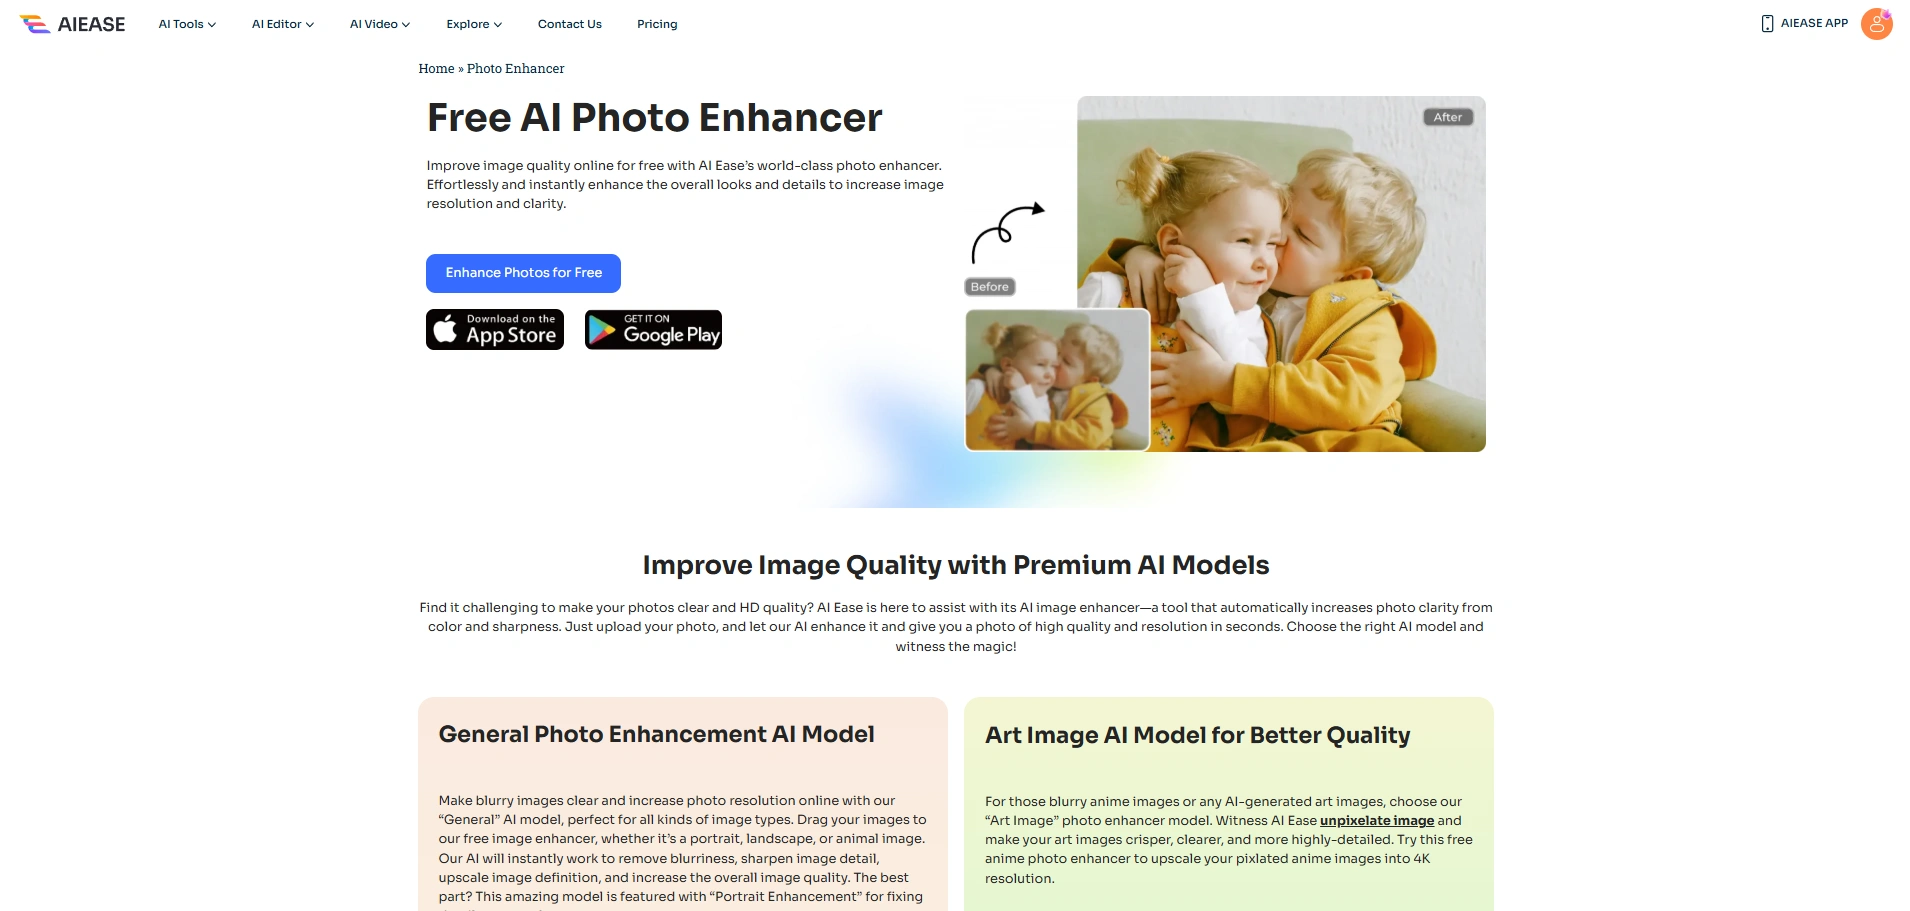
還認為提高圖片解析度的步驟很麻煩嗎?試試 AI Ease,您將獲得更快速、更智慧、免動手的銳化圖片方式。您完全不需要開啟 Photoshop,我們的 AI 驅動程式就能讓您輕鬆銳化圖片。 照片增強器 可讓您在數秒內自動銳化線上影像。它使用先進的機器學習來偵測邊緣、恢復清晰度,並一按即可增強紋理。
- 一鍵式影像銳化
- 智慧邊緣偵測
- 適用於任何影像格式
- 不需要複雜的技能
現在,按一下按鈕,試試 AI Ease,用聰明的方式銳化您的照片!
步驟 1:將圖片拖曳上傳至 AI Ease。
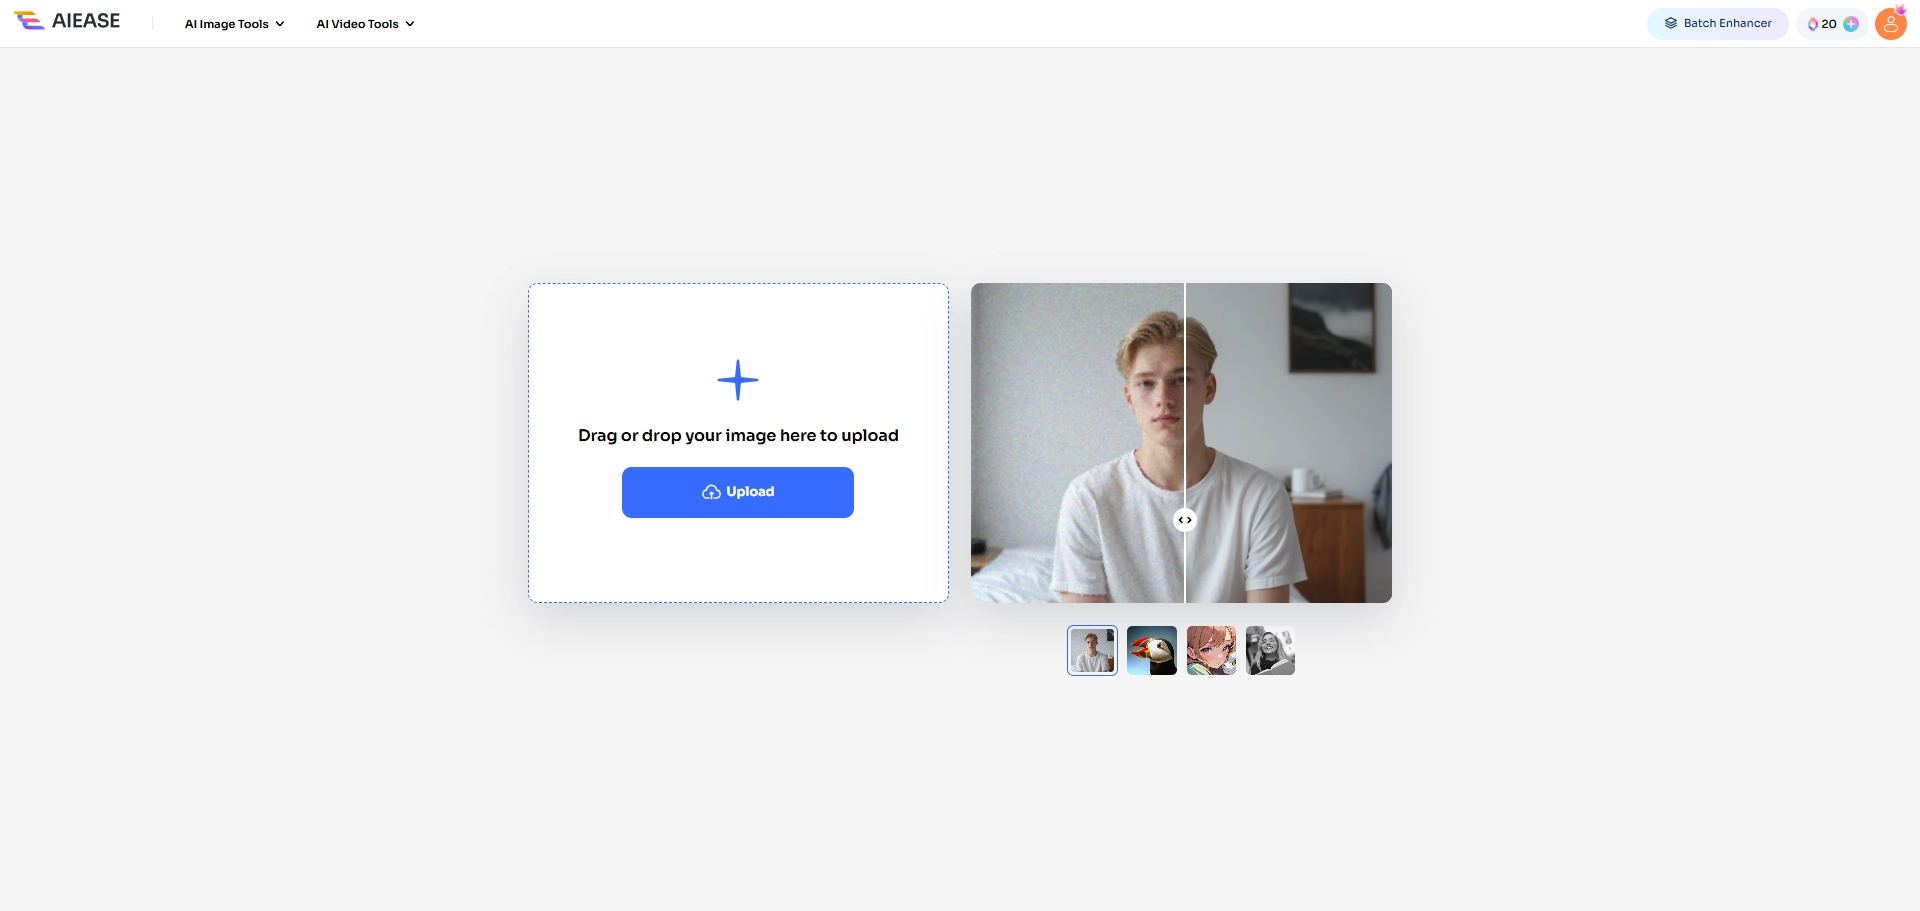
步驟 2:AI Ease 會在幾秒鐘內自動偵測並增強您的照片。
步驟 3:然後您可以下載並分享照片。
注意事項:AI Ease 也提供 視訊增強器 自動提升視訊品質。有了 AI Ease 視訊增強器,您只需按一下,就能毫不費力地提升視訊品質,將低品質的視訊轉換成令人驚艷的視覺效果。
如何在 Photoshop 中銳化圖片 FAQ
Smart Sharpen 和 Unsharp Mask 沒有太大的差別,但相較之下,Smart Sharpen 會增加對比度,產生誇張的人工影像。
以上內容介紹了如何在 Photoshop 中銳化圖片。您也可以使用上述技巧來銳化模糊的圖片,包括 Unsharp Mask、Smart Sharpen 和 AI Ease。我們推薦使用 AI Ease,因為它可以自動增加圖片的解析度。
您可以使用圖層遮罩和柔軟筆刷只銳化某些部分(如人像中的眼睛)。
總結
在 Photoshop 中對影像進行銳化可能看起來只是一個小步驟,但卻能讓您的最終效果大不相同。無論您是選擇 Smart Sharpen 來提高精確度,還是選擇 Unsharp Mask 來加快速度,或是選擇 High Pass 技術來提高創意控制能力,每種方法都能在您的編輯工作流程中佔有一席之地。
請記住,一定要在複製圖層或智慧型物件上工作,以保留原始檔案,而且不要害怕針對不同類型的影像微調設定。只要稍加練習,只需幾下點擊,您就能將暗淡模糊的照片變成銳利驚人的視覺效果。如果您追求更簡易的銳化影像方法,不妨試試 AI Ease!它會自動提升影像的銳利度。