How to Photoshop a Picture: Easy Guide for Beginners
Photoshop is a powerful photo editing tool with many features to enhance and modify images. Knowing the basic steps can make things easier for beginners. This guide will walk you through the basic Photoshop techniques to help you edit pictures efficiently.
How to Photoshop a Picture with a Step-by-Step Guide
If you don’t know how to edit pictures in Photoshop, you will learn the basic editing steps of Photoshop in this section. For example, cropping pictures, adjusting brightness, modifying color balance, removing unwanted elements, applying filters, etc. Let’s take a look!
#1. Open a Picture in Photoshop
Begin by opening Photoshop and importing the image you wish to edit. You can do this by selecting File > Open from the top menu and choosing your image file. Alternatively, use the shortcut Ctrl+O (Windows) or Cmd+O (Mac).
By the way, if you want to edit pictures on your phone, you can try AI Ease. This app allows you to download or visit online to quickly edit your photographs.
#2. Crop and Straighten the Image
Cropping helps you remove unwanted edges and focus attention on the most essential part of the photo, like a person’s face or a product. Straightening is useful when your photo appears tilted, such as when the horizon isn’t level.
When to use it:
- You want to zoom in on the subject.
- There’s extra background you don’t need.
- The photo looks slanted or unbalanced.
To focus on the desired area of your photo, you can follow the steps below.
Step 1. Open your photo in Photoshop.
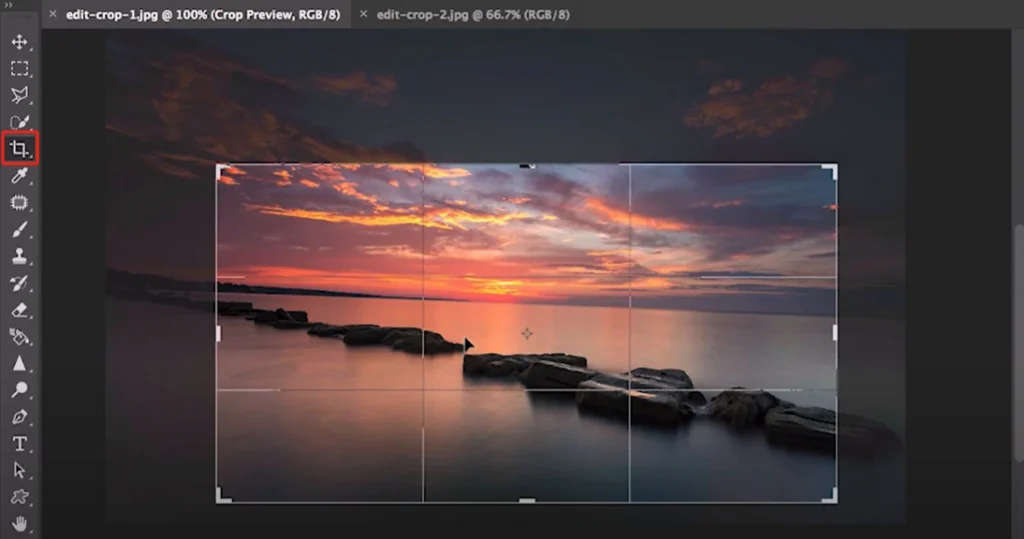
Step 2. From the toolbar on the left, click the Crop Tool (looks like two overlapping right angles).
Step 3. A border will appear around your image. Drag the corners or sides to crop out the parts you don’t want.
Step 4. If your image looks tilted, find the Straighten Tool at the top. Click it, then draw a line along something that should be level (like the horizon or a table edge). Photoshop will automatically rotate the image to straighten it.
Step 5. Press Enter (or Return on Mac) to apply the crop and straighten.
#3. Adjust Brightness and Contrast
Sometimes your photo looks too dark or too washed out. Adjusting brightness and contrast helps bring out more detail, make the image look clearer, and add depth.
When to use it:
- The photo is too dark or overexposed.
- The colors look flat or dull.
- You want to make the subject “pop” more.
Here are the steps to adjust photo color and lighting on Photoshop.
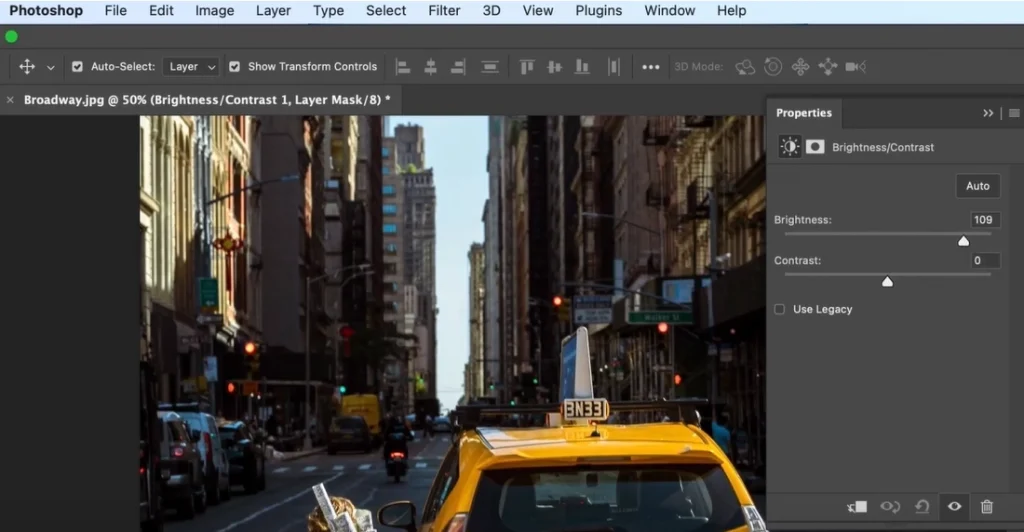
Step 1. Go to the top menu and click Image > Adjustments > Brightness/Contrast.
Step 2. A small window will pop up with two sliders:
- Brightness makes the whole photo lighter or darker.
- Contrast controls the difference between light and dark areas.
Step 3. Drag the sliders left or right and watch the photo change in real time.
Step 4. Once you’re happy with how it looks, click OK to apply the changes.
#4. Modify Color Balance and Saturation
Color balance affects the overall tone of your image. Too cool and it looks blueish, too warm and it looks yellow. Adjusting saturation alters the vividness of colors. Getting these right can make your photo look more natural or more vibrant.
When to use it:
- Skin tones look unnatural.
- The photo feels too dull or too intense.
- You want to change the mood or color tone of the image.
Follow the guide to modify color balance and saturation on Photoshop.
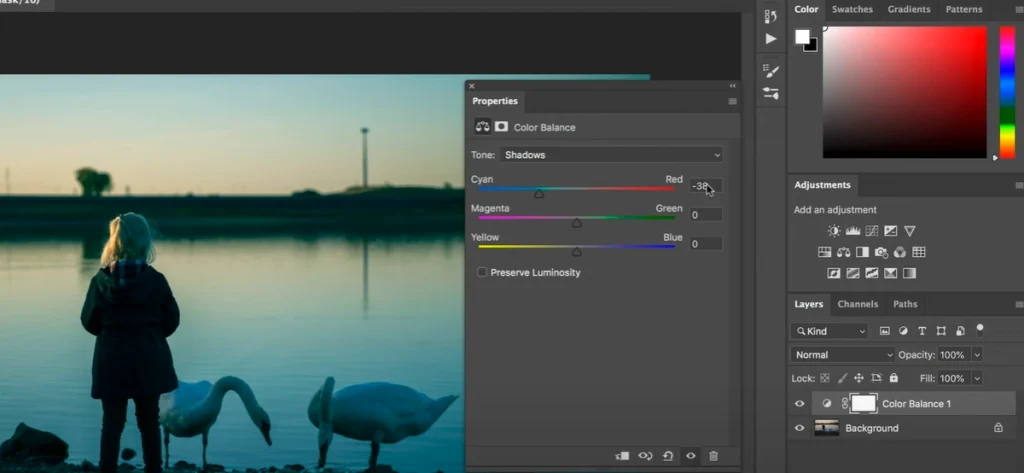
Step 1. Go to the menu and click Image > Adjustments > Color Balance.
Step 2. In the pop-up window, adjust the sliders for Shadows, Midtones, and Highlights to control overall color tones (Red–Cyan, Green–Magenta, Blue–Yellow).
Step 3. Then go to Image > Adjustments > Hue/Saturation.
Step 4. Use the Saturation slider to increase or decrease the vividness of all colors.
Step 5. Click OK when you’re satisfied.
#5. Remove Unwanted Elements from a Picture
Photos often include objects or people you don’t want. Such as a trash can, photobombers, or a distracting sign. Removing these helps your photo feel more focused and clean.
When to use it:
- You notice something distracting in the background.
- You want to clean up the image for a more professional look.
- You’re preparing the photo for print, portfolio, or social media.
Now, learn how to remove objects from a photo.
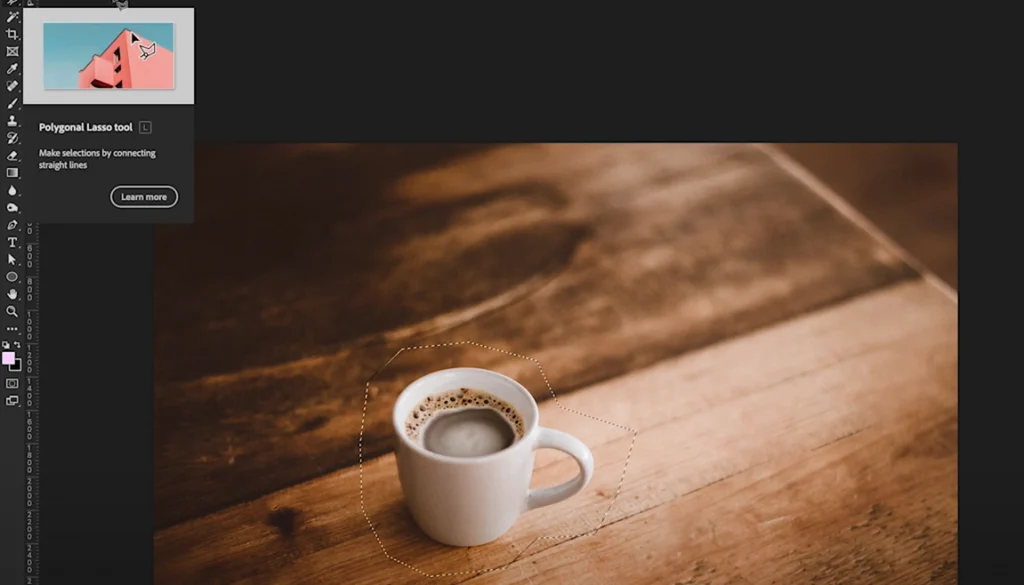
Step 1. Select the Lasso Tool or Object Selection Tool from the toolbar.
Step 2. Carefully draw around the unwanted item.
Step 3. Go to Edit > Content-Aware Fill. Photoshop will auto-fill the area with matching background.
Step 4. Adjust settings if needed, then click OK.
Step 5. Deselect (Cmd+D or Ctrl+D) to see the clean result.
#6. Apply Filters for Creative Effects
Want to try out different filter styles? Using Photoshop filters can change the mood or style of your photos, making them look retro, comic, movie-like, and more.
When to use it:
- You want your photo to look unique or artistic.
- You’re creating content for Instagram, Pinterest, or blogs.
- You need a quick enhancement with one click.
How to apply filters to images on Photoshop.
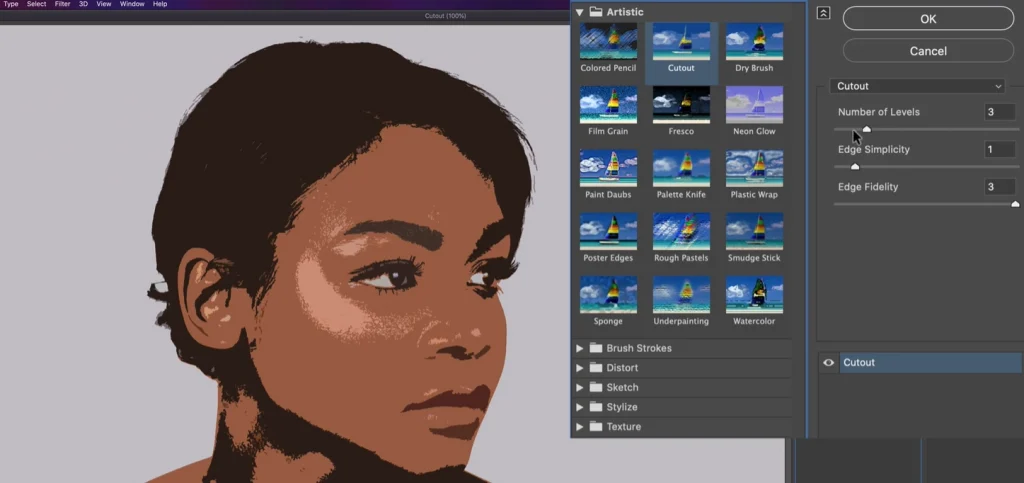
Step 1. Click Filter > Filter Gallery.
Step 2. Browse different artistic filters like Poster Edges, Watercolor, or Film Grain.
Step 3. Click a filter to preview, then tweak settings like strength or detail.
Step 4. Click OK to apply.
Want to try out more different filters with one click? Visit AI Ease’s AI filter to try out more interesting filters and artistic styles.
#7. Save and Export Your Edited Image
After editing your picture, the final step is to save or export it in the right format, depending on your needs. Photoshop offers various formats that serve different purposes.
How to save or export photo from Photoshop.
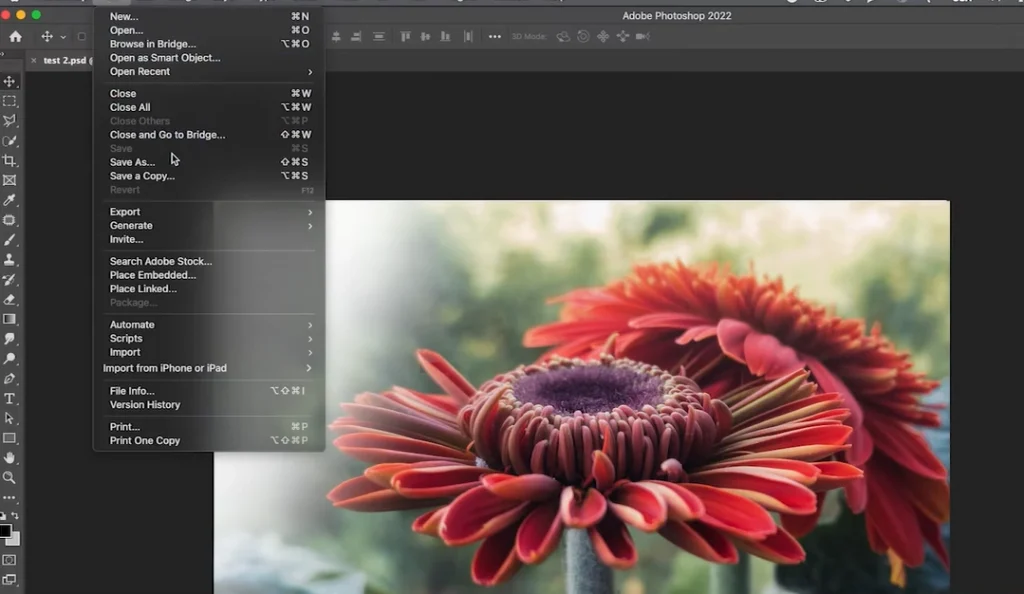
Step 1. Click File > Save As if you want to keep a fully editable copy (.PSD format).
Step 2. Click File > Export > Export As for formats like:
- JPEG (.jpg) – great for sharing on the web or social media.
- PNG (.png) – supports transparent backgrounds, ideal for logos or overlays.
- TIFF (.tif) – high-quality format used for printing or publishing.
- GIF (.gif) – best for simple graphics or animations.
- PDF (.pdf) – perfect for document-style presentation or printing.
Step 3. Choose the file format and quality settings that match your needs.
Step 4. Click Export or Save and select the destination folder.
An Easier Way to Edit a Picture Online & on Phone
Do you also find Photoshop’s operation steps to be too complicated or time-consuming? You are not alone. Many beginners and ordinary users want to edit photos quickly without learning layers, masks or adjustment panels.
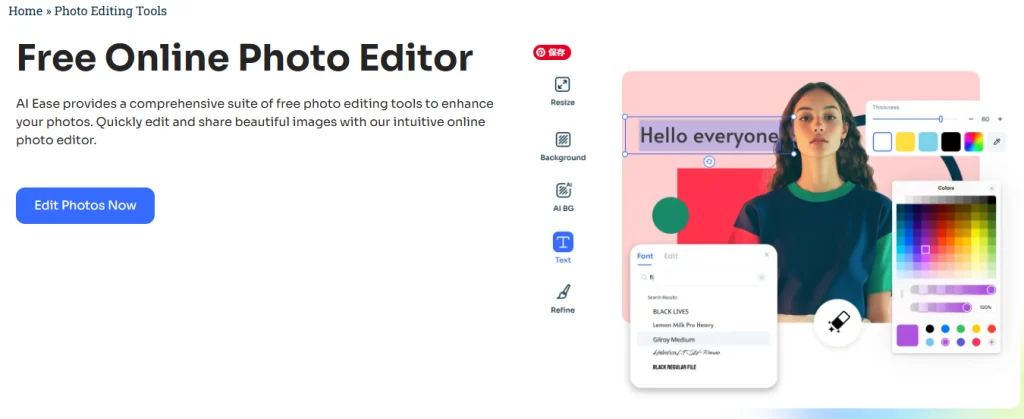
Currently, AI Ease offers a simpler and more convenient option. Whether you’re using a computer or a mobile phone, this excellent online photo editor can help you easily enhance, apply filters, and remove unwanted elements. You only need a few clicks.
Key Features:
- Beginner-Friendly Interface. Simple, clean layout without complicated tools.
- AI-Powered Features. Auto-enhance, background remover, face retouch, color correction, and more.
- Mobile Compatible. Edit photos from your iPhone or Android phone easily.
- One-Click Results. Get professional-looking edits like brightness fix, background blur, or blemish removal in seconds.
AI Ease is a complete set of AI tools that covers nearly all your photo editing needs. Whether you want to enhance image quality, remove distractions, or apply beautifying filters, AI Ease has you covered.
AI Photo Enhancer can instantly enhance image quality with a single click. It is ideal for low-resolution, blurry, or outdated photos that require sharpening and clarity.
Object Remover can be used to erase unwanted objects or people from your photos seamlessly. You can clean up travel pics, portraits, and product shots.
AI Ease’s Online Photo Editing tool is all-in-one tool that lets you crop, resize, rotate, adjust lighting, and add text or stickers. Ideal for everyday quick edits.
If you want to transform your photo style, AI Filter supports rich art styles, like photo to cartoon, watercolor, 3D, anime, etc. You can add artistic flair in seconds.
Photo Retouching tool can help you enhance portraits with AI-powered face editing. You can smooth your skin, whiten your teeth, remove blemishes, and even adjust your facial features naturally.
The Bottom Line
This blog explores how to use Photoshop to edit photos. With detailed, step-by-step instructions, you can master the basic steps of Photoshop, including cropping, adjusting light and color, and removing blemishes.
Photoshop provides a rich set of fine-tuning functions, while AI Ease provides a convenient alternative. You can quickly and easily enhance your photos on your computer, iPhone, or Android phone. Now, start transforming your photos immediately.